Difference between revisions of "S1 Pro System Line Out"
m (→Overview and Specifications) |
m (→S1 Pro Daisy Chain (one to another)) |
||
| (6 intermediate revisions by the same user not shown) | |||
| Line 5: | Line 5: | ||
:Output Impedance: 9.4 kilo-ohm kΩ | :Output Impedance: 9.4 kilo-ohm kΩ | ||
| − | :The Line Out is not affected by the [[S1 Pro system# | + | :The Line Out is not affected by the [[S1 Pro system#Auto_EQ|Auto EQ]]. It's the combined output of all three channels (with volume controls, ToneMatch Presets, tone controls, and reverb) and is same whether the unit is in tilt-back, monitor, tabletop or on a speaker stand. |
;Notes: | ;Notes: | ||
*Using a Tip-Sleeve unbalanced cable will result in a drop in the audio level of -6dBu. | *Using a Tip-Sleeve unbalanced cable will result in a drop in the audio level of -6dBu. | ||
| − | * | + | *There is no limiter on this output so you may get more than the rated maximum, but it could sound distorted. |
=== S1 Pro Daisy Chain (one to another) === | === S1 Pro Daisy Chain (one to another) === | ||
| − | {{:S1 Pro Daisy Chain Settings}} | + | <!-- {{:S1 Pro Daisy Chain Settings}} --> |
| + | |||
| + | <HTML> | ||
| + | <details><summary>S1 Pro Daisy Chain Settings</summary></html> | ||
| + | {{S1 Pro Daisy Chain}} | ||
| + | <html></details></html> | ||
=== Connecting the {{S1}} to a Third Party Device === | === Connecting the {{S1}} to a Third Party Device === | ||
| − | {{:S1 Pro to a Third Party Device}} | + | [[S1 Pro to a Third Party Device]] |
| + | <!-- {{:S1 Pro to a Third Party Device}} --> | ||
---- | ---- | ||
| − | [[Category:S1]] | + | [[Category:S1 Pro]] |
[[Category:Connections]] | [[Category:Connections]] | ||
Latest revision as of 21:09, 3 April 2021
Contents
Overview and Specifications
- The S1 Pro System Line Out is
- ¼ inch (6.3 mm) Tip-Ring-Sleeve jack: Nominal +2.4 dBu, Max +20 dBu
- Output Impedance: 9.4 kilo-ohm kΩ
- The Line Out is not affected by the Auto EQ. It's the combined output of all three channels (with volume controls, ToneMatch Presets, tone controls, and reverb) and is same whether the unit is in tilt-back, monitor, tabletop or on a speaker stand.
- Notes
- Using a Tip-Sleeve unbalanced cable will result in a drop in the audio level of -6dBu.
- There is no limiter on this output so you may get more than the rated maximum, but it could sound distorted.
S1 Pro Daisy Chain (one to another)
S1 Pro Daisy Chain Settings
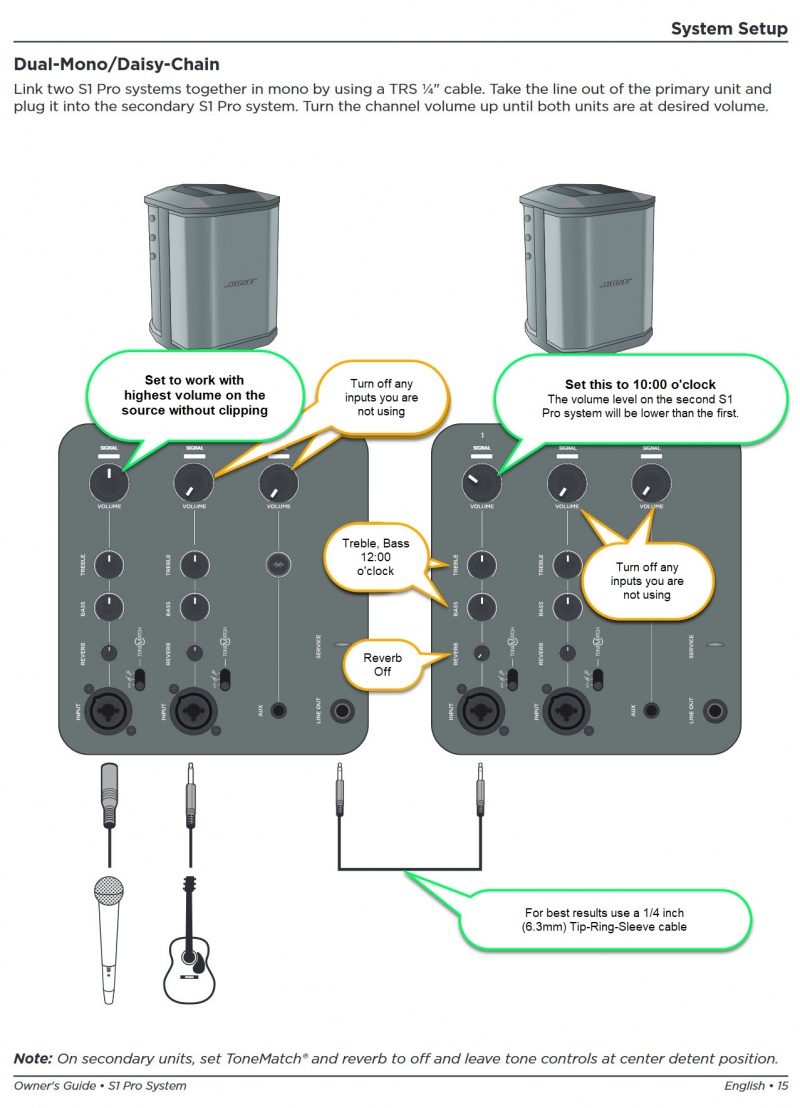
This is an overview of how to connect one S1 Pro System to another.- On the first S1 Pro turn off the volumes of all channels
- Run the LINE OUT to the second S1 Pro system using a balanced cable (1/4 inch (6.3 mm) Tip-Ring-Sleeve cable
- On the second S1 Pro set the volume to 10:00 o'clock. This should give you the same volume on the second unit as the first
- On the first S1 Pro bring up the volume to the appropriate level on the channels you are using
There is no reason to turn the second S1 Pro system above 10:00 o'clock because it will be louder than the first system and the signal will clip and distort before the first system does.
On the second S1 Pro System, for each channel you are connecting to the first S1 Pro System use these settings while you are setting up.
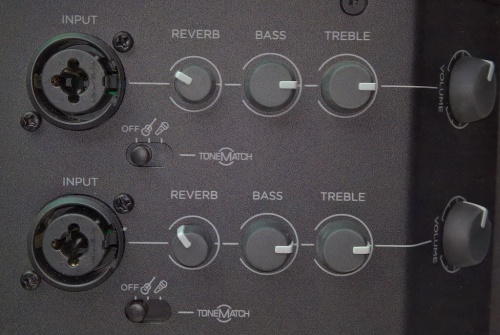
- Reverb OFF
- Bass at 12:00 o'clock
- Treble at 12:00 o'clock
- ToneMatch switch OFF
You can adjust the Reverb, Bass, and Treble after you get your basic sound working.
- S1 Pro+
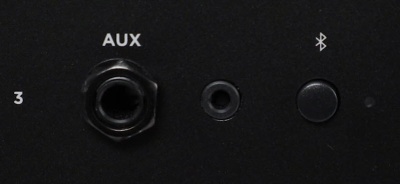
You can also connect to the Channel 3 Aux input. For best results, use a 1/4 inch (6.3 mm) Tip-Ring-Sleeve cable.
Gain Staging
- Using a Bose device as the source
When connecting a ToneMatch Mixer[1] or an S1 Pro System Line Out to an S1 Pro System channel 1 or channel 2
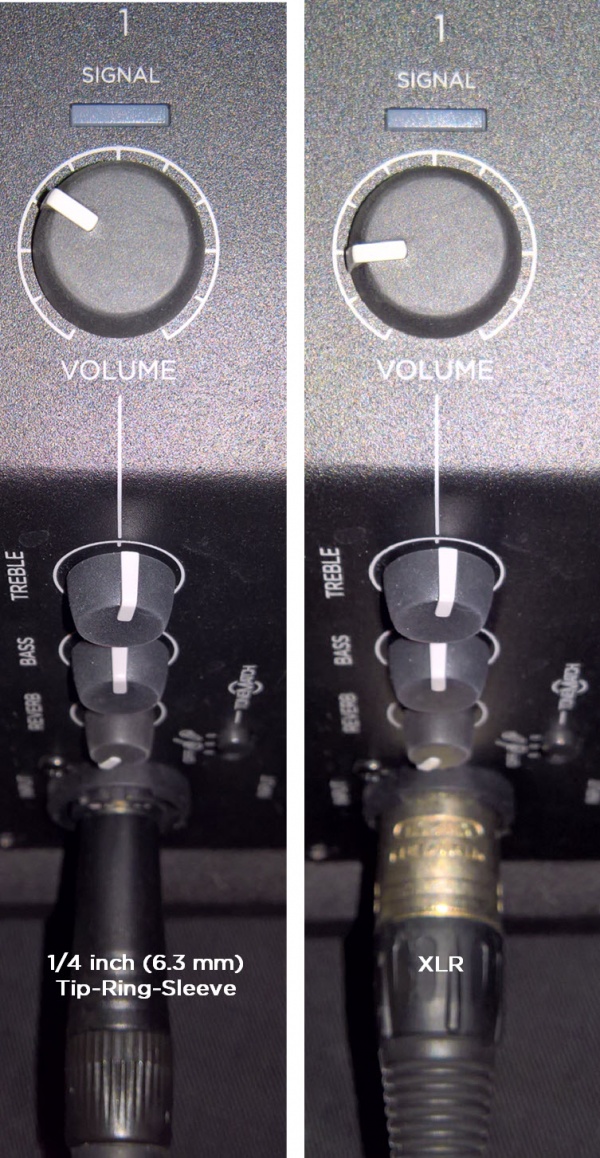
Set the volume control to 10:00 o'clock with 1/4 inch (6.3 mm) Tip-Ring-Sleeve
- The signal strength from a ToneMatch Mixer[1] or an S1 Pro System Line Out is sufficient to achieve the maximum usable volume from the S1 Pro System
- Control the overall volume from the ToneMatch Mixer[1] or the first S1 Pro System. If you use an XLR cable, set the volume control to 9:00 o'clock
- Using a third-party source (not a Bose device as the source)
For each channel you are using on the S1 Pro System
- Turn the channel volume off
- Connect your sound source
- Adjust the volume of the source device output to the reference or nominal output level.
- On analog consoles this may be marked as unity or 0 dB.
- On digital consoles this may be marked as -18 dBFS[2][3]. The exact value (-18 dBFS to -20 dBFS) may vary depending your location[4].
- Refer to the manual for the source device for details.
- If the source device does not have metering or indicators, set the output as high as you can without hearing distortion or seeing red indicator lights.
- While playing/singing as loud as you will during your performance, bring up the channel volume until you see solid green on the channel indicator light. Occasional flickers of red are okay. If you see solid red or you hear distortion, turn down the volume.
Combo Inputs
- S1 Pro Channels 1 and 2 have combo inputs that accept
- XLR (balanced mono)
- Microphone or Line-Level inputs
- 1/4 inch (6.3 mm) Tip-Ring-Sleeve connection (balanced mono)
- Line-Level inputs
- 1/4 inch (6.3 mm) Tip-Sleeve connection (unbalanced mono)
- Line-Level inputs and instruments (e.g. guitars, keyboards, guitar processors, loopers)
- When using a third-party device (e.g., mixer or another line-level source) should I use the XLR or 1/4 inch inputs?
- The S1 Pro 1/4 inch Tip-Ring-Sleeve inputs are best suited for line-level balanced inputs. This is a better match for the signal level.
- The S1 Pro XLR inputs are best suited for microphones.
When the S1 Pro Channel input lights hit red or you hear distortion, the signal is clipping and you've reached the maximum usable volume. From the source, if the XLR outputs are line-level and the 1/4 inch Tip-Ring-Sleeve outputs are line-level, it won't matter which type of cable you use. They'll both get the job done, although the volume control setting will be lower with the XLR connection. That doesn't indicate more headroom. The maximum usable volume is the same either way.
Alternate Connection
You can use an XLR cable (mic cable) from a Line Level Source (e.g., L1 Pro, S1 Pro+) to second S1 Pro System channels 1 or 2 (XLR inputs), but the signal may clip, overload, or be too high to control the volume. To attenuate (reduce) the signal, use a -20 dB or -30 dB Pad
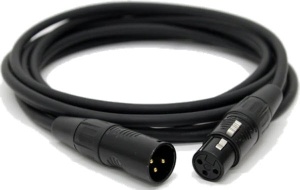
XLR Cable
Click image for more information about Pads
Connecting a Mixer to an S1 Pro system
Article from Bose Connecting an S1 Pro to a mixer
Connecting the S1 Pro System to a Third Party Device
S1 Pro to a Third Party Device
