T1 ToneMatch® Audio Engine / Microphone Stand Bracket
|
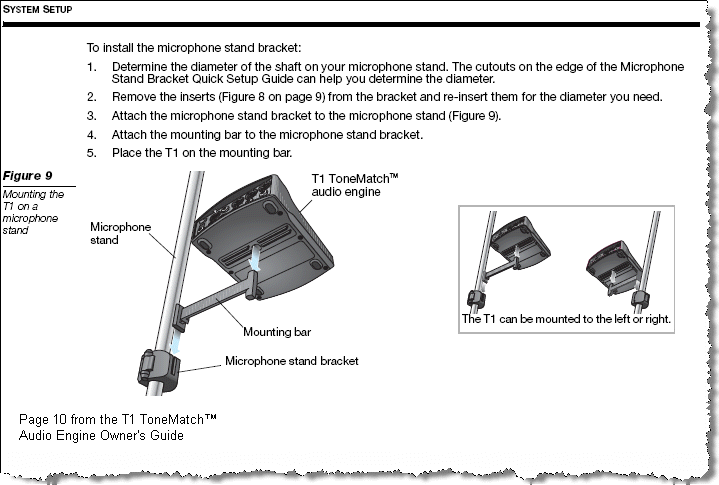
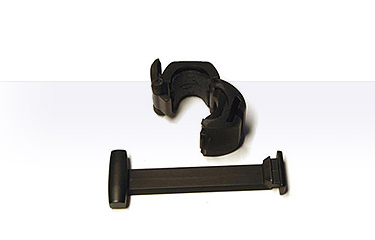
T1 Microphone Stand Bracket is no longer available - As of January 2020 There is an optional microphone stand bracket for the T1 ToneMatch Audio Engine. This is actually two pieces.
The T1 ToneMatch Audio Engine sits on that mounting bar. |
Documentation
Here is an excerpt from the T1 ToneMatch® Owners Manual - page 10.
Owner Comments and Alternatives
- T1 mic stand adapter, thoughts and questions - Owners talking about the microphone stand bracket.
- Sight Lines and the T1® - Owners talking about placement of the T1® on the stage using the Microphone Stand Bracket.
Hints
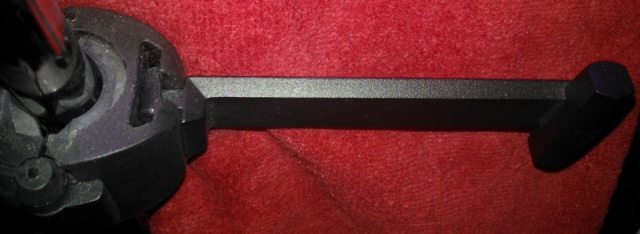
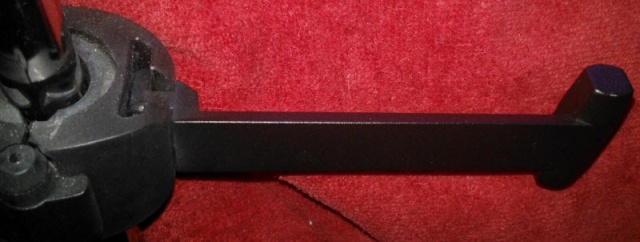
- The bracket that sits parallel to the floor has a bevel on the top. The bevel should run down, facing you. If the bevel runs down away from you, the bracket is upside down and the T1 ToneMatch® Audio Engine will not sit properly on top of it.
- Secure the ToneMatch® cable to your microphone stand, above the T1 ToneMatch® Audio Engine. This will help keep it secure on the bracket and help to keep it from hitting the floor if it becomes dislodged from the bracket.
- If you use a microphone stand with a wider than usual diameter, try removing the inserts in the clamp. — Source: dberch on the Forum
Securing the T1® to the Bracket
- The bracket that sits parallel to the floor has a bevel on the top. The bevel should run down, facing you. If the bevel runs down away from you, the bracket is upside down and the T1 ToneMatch® Audio Engine will not sit properly on top of it.
- correct - bevel running down, facing you
- incorrect (upside down)- bevel on opposite side, away from you
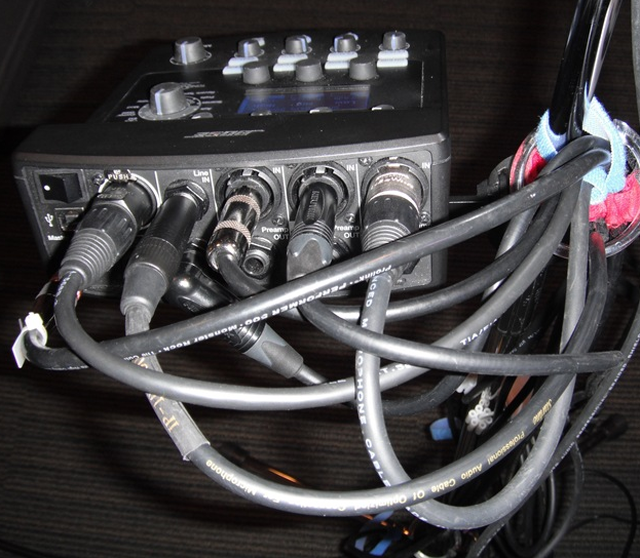
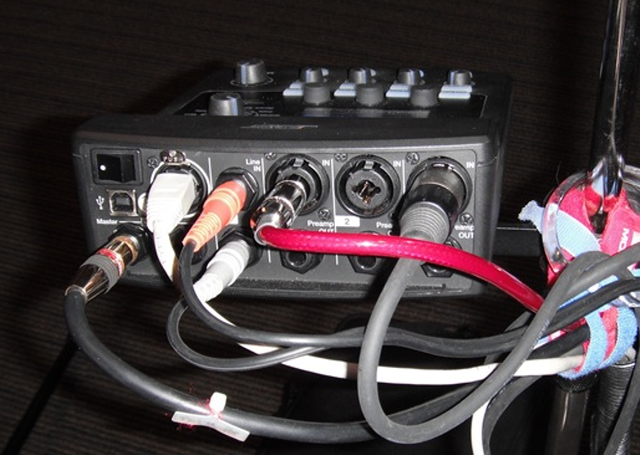
This is how I secure the T1® to the T1® Microphone Stand Bracket[1]
- There is a velcro strap on the black ToneMatch cable.
- I use the velcro to secure the ToneMatch cable to the microphone stand just above the Microphone Stand Adapter (the thing that clamps around the mic stand).
- Then I insert the ToneMatch cable into the T1®. It locks into place.
- At this point, most people would put the T1® on the bracket and attach the other cables.
- I insert all the other cables into the T1® before I put it on the bracket. I do it this way because I have all my cables strapped to the microphone stand (I don't take them off between gigs). So there's no hanging stress from those either.
- Finally, I set the T1® on top of the bracket.
In the picture above, I am using all the inputs and the cables are heavy. But since I have all the cables secured by a velcro strap, there's no chance that the T1® will come off the microphone stand bracket.
The white cable is a network cable (Cat-5) instead of the ToneMatch® cable
— source
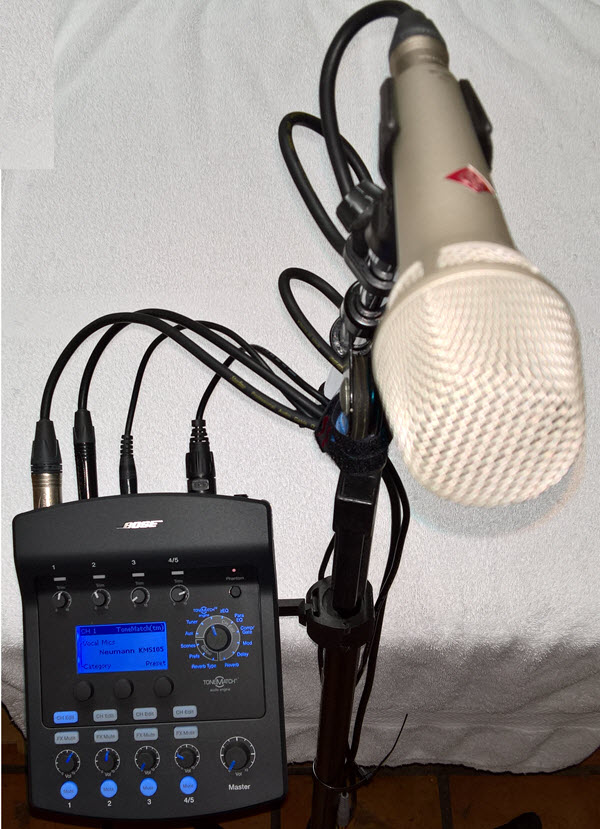
Here's how I have one of my microphone stands setup. The T1® Microphone Stand Bracket is attached and I never remove it.
All the cables are also strapped to the microphone stand. I leave the cables attached all the time. This saves a great deal of time during setup and teardown.
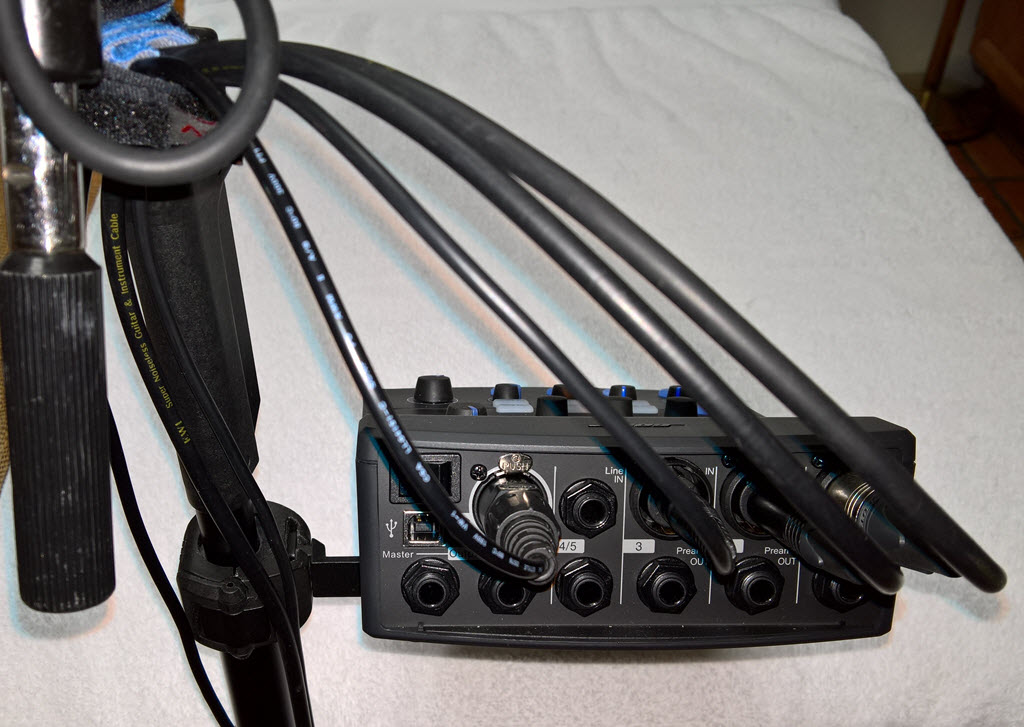
I used a white background so that you could see the wires. Normally they don't stand out like this visually. Notice that even if the T1® were to get knocked off the bracket the cables are acting as safety tethers.
- View from the Back
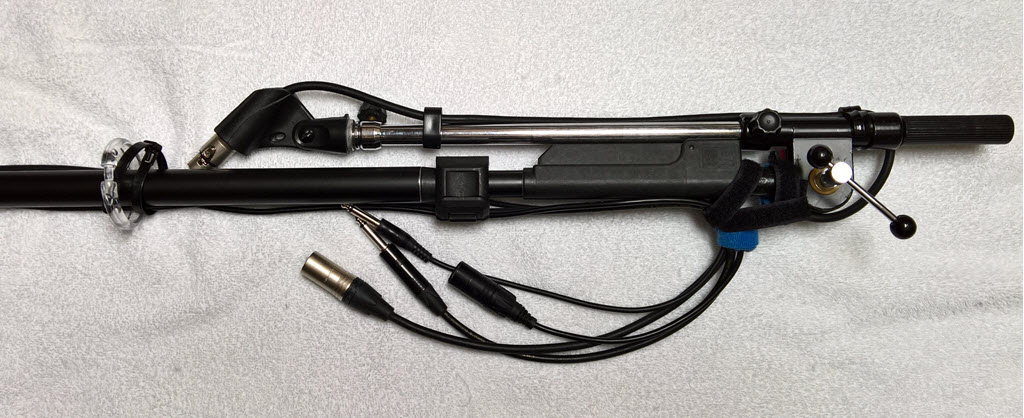
- Ready to Pack Up
You can see that the cables are strapped to the microphone stand.
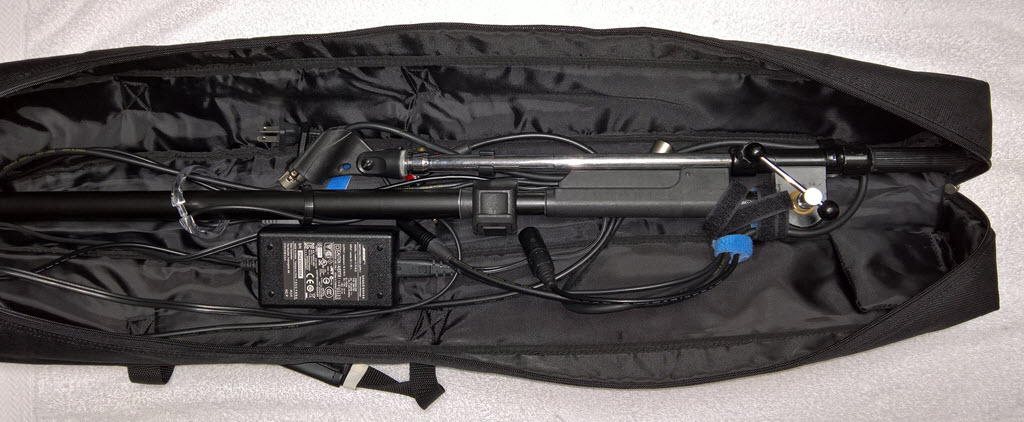
- Packed, ready to zip up
The black bag is one of the original Cylindrical Radiator® bags that came with my L1®. Years ago I got some heavy duty bags for the Cylindrical Radiator® and it turns out that the stock bags work great for holding microphone and light stands.
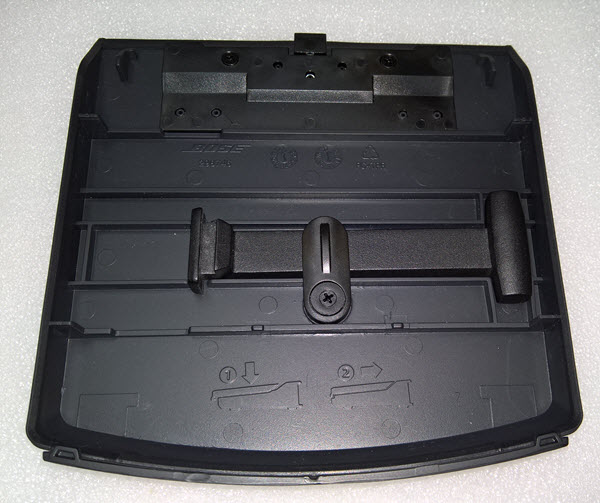
- Remember to pack the Bracket (arm) in the T1® Lid.
Comments? Please join the discussion on the Bose L1® Forum
Where to get it
Click the picture below.
- ↑ Original discussion about using the T1® Microphone stand adapter

