B2
B2 Switching
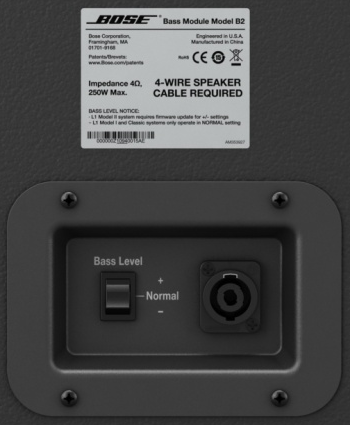
The B2 bass module includes a switch allowing you to select the appropriate level of bass output for your application.
There are three settings:
| Switch Position | Application |
|---|---|
| + | Bass voicing designed for DJ/Music playback applications |
| Normal | Bass voicing ideal for bass guitar or live sound application when mic'ing a kick drum |
| - | Bass voicing which is perfect for acoustic guitar and vocal |
Attention L1 Model II users: In order to take advantage of the B2 rear panel bass level features you must upgrade your power stand firmware to version 1.4 or higher. If your power stand firmware is not current, the rear panel switch must be in the Normal position. + or - switch positions will not work.
For the latest firmware see: L1® Model II Power Stand Firmware Updates (or see section immediately below).
Attention L1 model I and Classic users: When using the B2 with the L1 model I or Classic systems the rear panel switch must be in the Normal position. + or - switch positions will not work.
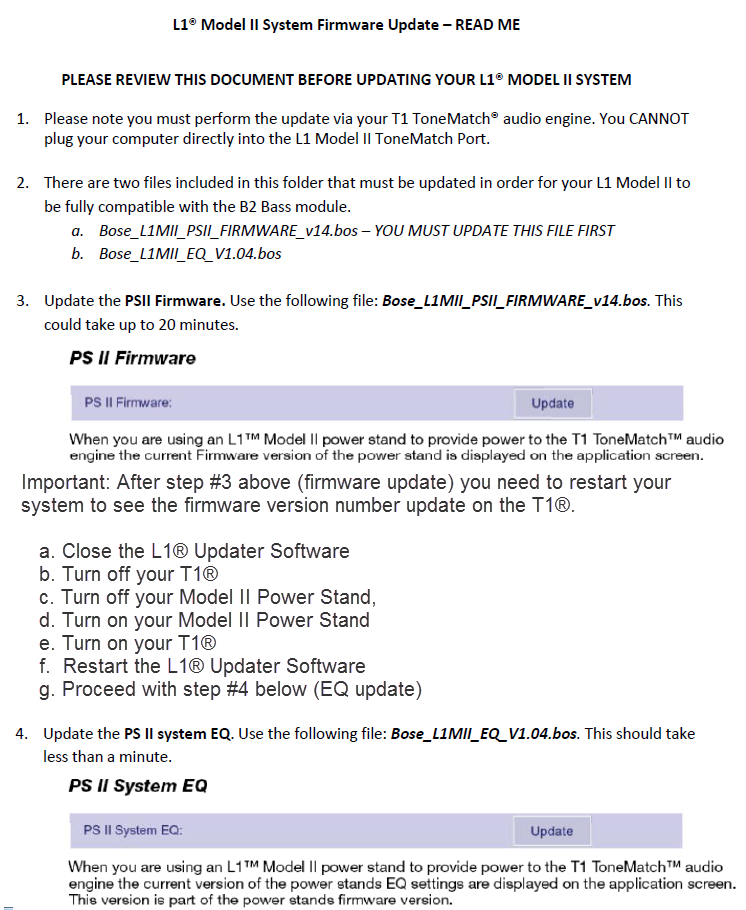
Model II Firmware Update
In order to get the full use of the B2 with a L1 Model II you will need to download and install the latest L1® Model II Power Stand Firmware Updates.
This includes a Firmware Update (must be installed first) and a System EQ update (installed second).
Rotate the Logos
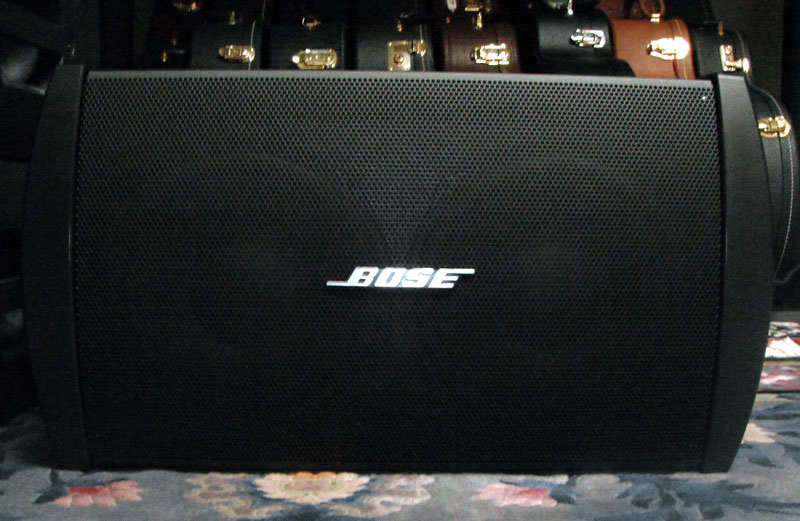
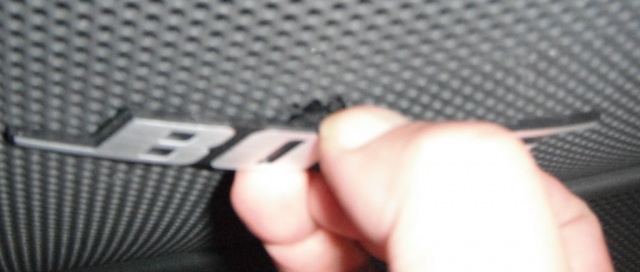
You can rotate the Bose logo so it is parallel to the floor even if you have turned the B1 on its side. Chuck-at-Bose said, "... Maybe it's my kung fu grip, but I've had good luck with carefully pinching the logo and pulling at these points, then rotating 90 degrees:"
Be very careful with the fine ends of the logo because they can be easily broken off. You may even try to pull up in the middle with your fingernails on the edge instead of near the ends.
Go from this:
to this
Here is a video showing how to do this on an F1 Model 812 Flexible Array Loudspeaker. It's the same on a B2 Bass Module.
Pull the logo straight out about ½ inch before you attempt to turn it. It is spring loaded, and the rear post is square. You have to clear the post (about ½ inch before you can turn it).
Another look.
After you rotate the logo make sure that the logo is flush with the grille so that it does not rattle when the music is playing.
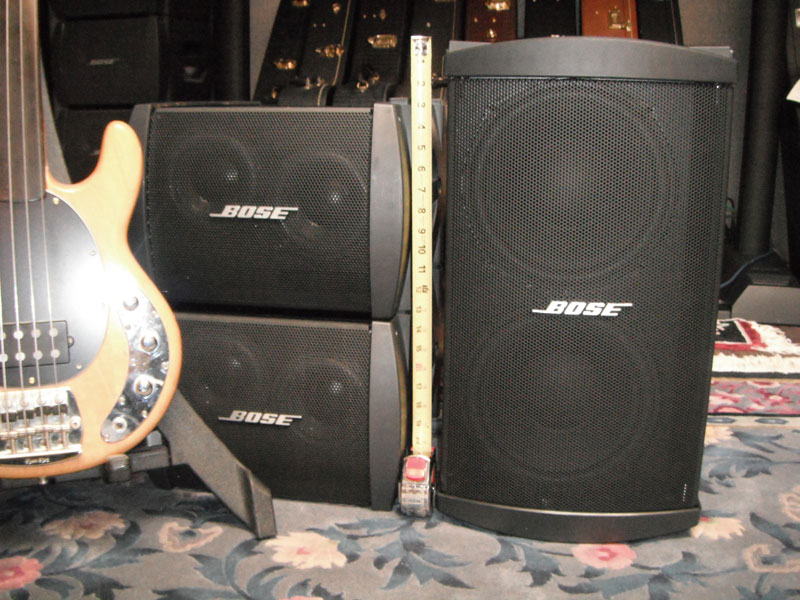
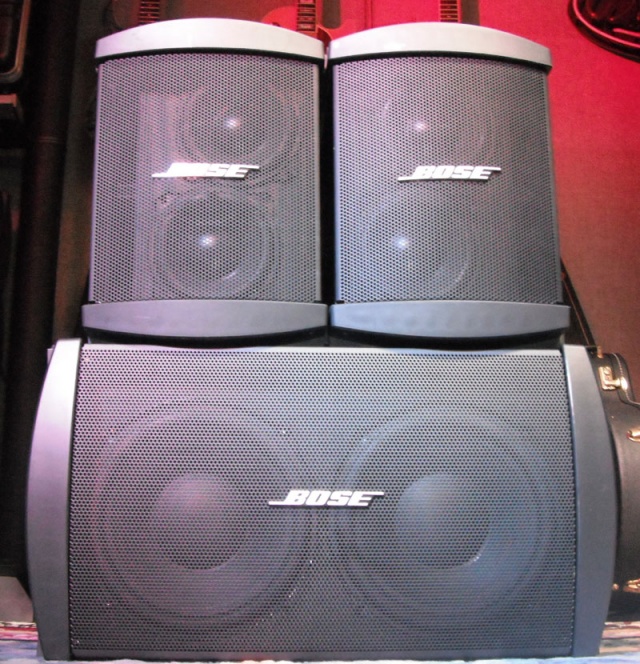
Even though it is unlikely that you will have this combination of pieces, this is a fun picture.
Use the B2 Cables
Warning - Use Blue B1 Cables NL4 cables with your L1 Classic / L1 Model I / L1 Model 1S L1 Model II
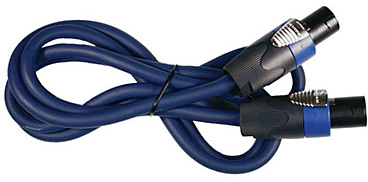
If you are using a B1 Bass Module with your Power Stand it is ESSENTIAL for proper operation that you use the BLUE cable supplied with the B1 Bass Module or B2 Bass Module. This is required so that the L1 Classic/L1 Model I/L1 Model 1S/L1 Model II Power Stand can correctly identify when there are bass modules connected to it and if so, how many.
Please click the picture above for ordering information.
- Note
- The B2 Bass Level Switch will not change the sound of the B2 Bass Module if you are not using the correct cable.
See: PS1 Power Stand / Bass Line Out for details about how the Power Stand adapts to the number of bass modules are connected to it.
You may also use high quality NL4 cables (four conductor cables).
Alternate and longer cables for B1s
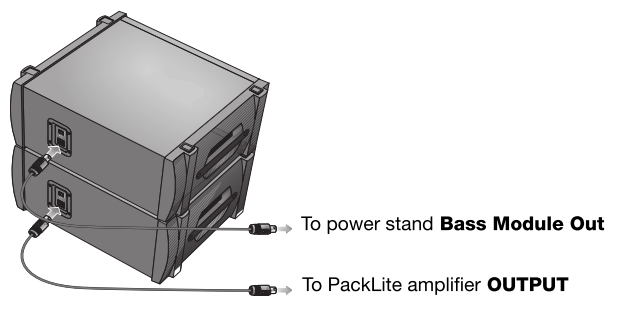
Stacking (up to two high)
From page 3 of the File:AM356142 00 B2 OG 3L.pdf
Using More Than One B2 with a Power Stand
The L1® Power Stands can support one B2. L1 Classic, L1 Model I, L1 Model 1S, L1 Model II
To power an additional B2 an PackLite® power amplifier model A1 is required. L1 Classic, L1 Model I, {{Model II}.
Note: The L1 Model 1S does not support the PackLite® power amplifier model A1 or the use of a second B2.
B2 with non L1® loudspeaker systems
Question - Can I use a B2 with an amplifier as a subwoofer for another (non-L1®) loudspeaker system?
- The B2 Bass Module is designed to work with the L1 system. The B1 is protected from frequencies it was not designed to handle - but only when connected to an L1 Power Stand. If you connect the B2 to another amplifier, or an PackLite® power amplifier model A1 use a Power Stand Bass Line Out as the source. If you do not, there is no protection for the B2.
Note from MikeZ-at-Bose
- Loudspeakers designed to be used with other gear (typical 2 way PA speakers, third party subs, etc.) usually have some sort of passive protection built into them. The B2, since it was designed to be used with L1's, has no protection. All of the protection is built into the L1 itself.
Notes:
On the L1 Classic there is an input "All Amps In". There is no protection for the B2 when using this input.
The PackLite® power amplifier model A1 is a full range amplfier and does not offer any protection for the B1s. The B2 will be protected if the signal source is an L1 Power Stand Bass Line Out.
Check the Cables
You may want to double check your Blue B1 cables.
B1/B2 Cable - Connections
From Kyle-at-Bose [1]
We've seen some past B1 cable quality problems which, because of input from folks like you, we've since resolved.
I'm fairly confident that the connector and wires in the cable assembly are OK. The problems we were having were related to the actual connection of the wire leads to the Speakon connector. Problems would be obvious in one case- the bass module cuts out. The second case would not be so obvious- the EQ to the B1 and L1 would be wrong and would make the system perform and sound poor.
So, if you have a moment and a screwdriver, we can fix these cables together.
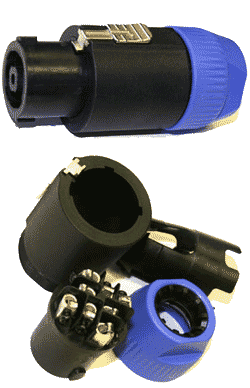
Remove the rear shell of the connector by unscrewing it. (See the pic below, not the exact connector but similar). We use a 4-wire connection so what you need to do is re-attach, possibly restripping first (need to use a wire stripper), the wire to the connector terminals. There are four terminals +1, -1, +2, -2. Each wire needs to be appropriately connected to the same terminal on each end of the cable. Luckily, no soldering is needed. These Speakon connectors have screw terminals. All you need to do is unscrew the terminal using a screwdriver, reinsert the bare wire, and then tighten the terminal.
B1/B2 Conductors Broken
From Harry (dancingdogmuse)[2]
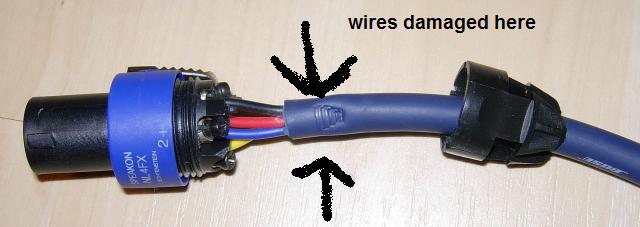
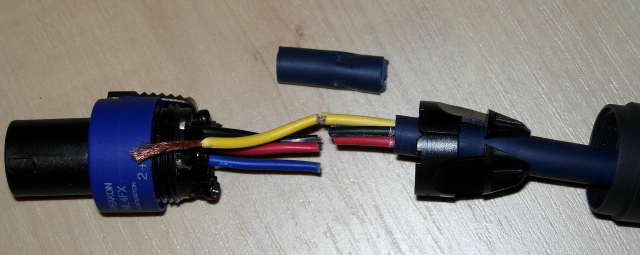
The initial symptoms were clicking followed by silence. It turned out to be a problem with broken wires inside the blue jacket of the B1 cable.
Longer cables for B2s
The Bose B2 requires a NL4 connector with all 4 pins connected (that's why we call it 4-wire cable). Unfortunately, the Speakon connector comes in three different flavors, NL2 (2-pins), NL4 (4 pins), and NL8 (8-pins). Most salespeople are not aware of the differences.
A good source for the correct cables is
for example
{{#Click:http://www.audiopile.net/products/Speaker_Cables/NL-4_speaker_cable/NL413_dropdown_cutsheet_2.shtml%7CImage:NL4 400w.jpg|200px|NL-4 speaker cable}}
— Click image for details —
If you call Mark and tell him you want the cable for the Bose B1, you will get one that is made to our specifications. You can also any custom length cable at a very reasonable price.
- Hilmar-at-Bose[3]
Straighten the B1 Cables
Here's a tip from Nick from New Zealand
I've seen it mentioned here a few times - those wriggly uncooperative B1 leads when they're new, and no posts about how to cure the problem.
Here's 3 suggestions:
1. Taking care to hold the speakon connectors, soak the rest of the cable into a bowl of very warm/hot (not boiling) water. DO NOT GET WATER INSIDE THE SPEAKON PLUGS. This will soften the cable up, lie the cable out flat and straight to dry. This will give it a "new memory" of sorts and be easier to maintain in the future.
2. Wrap the cable or lie it flat and straight and leave it on the footpath or driveway in the sun. Shouldn't take long.
3. Leave them wrapped in your car/van on a hot summer day. This is usually how I unintentionally fix all of my cable messes.
Mechanical Specifications
Dimensions: 23.4H x 13.31W x 18.9D (59.4 cm x 33.8 cm x 48 cm)
Weight: 45 lb (20.41 kg)
Impedance: 4 ohms
Compatibility with Other Members of the L1® Family of Products
Cylindrical Radiator®s
Cylindrical Radiator®s are not interchangeable across models
Specifically (and without exception)
- The Cylindrical Radiator speaker sections of the L1 Classic, the L1 Model I and L1 Model 1S and the L1 Model II are not compatible with each other.
- The Cylindrical Radiator speaker sections of the L1 Classic can only be used with the Classic PS1 power stand (no orange markings on the input/output panel).
- The Cylindrical Radiator speaker sections of the L1 Model I (orange markings on the back of both sections) can only be used with the Model I PS1 power stand (orange markings on the input/output panel).
- The Cylindrical Radiator speaker sections of the L1 Model II can only be used with the L1 Model II power stand.
- The Cylindrical Radiator speaker sections of the L1 Model 1S can only be used with the L1 Model 1S power stand.
T1 ToneMatch® Audio Engine, T4S/T8S ToneMatch® Mixers
- The ToneMatch mixers can be used with the
PackLite® power amplifier Model A1
- The PackLite® power amplifier model A1 can be used with
B1 Bass Module
- The B1 Bass Module can be used with the
B2 Bass Module
- The B2 Bass Module can be used with the
- L1 Classic Normal Mode only
- L1 Model I Normal Mode only
- L1 Model 1S all modes
- L1 Model II all modes but L1® Model II Power Stand Firmware version 1.4 or later required

