S1 Pro+ Daisy Chain
S1 Pro+ Daisy Chain
Connect Two S1 Pro+ using a wired connection
For a wireless connection see: S1 Pro+ Daisy Chain Wireless
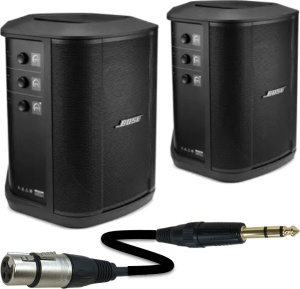
To connect an S1 Pro+ to a second S1 Pro+ using a wired connection.
Terms used
- S1 Pro+ 1
- This is the master S1 Pro+ to which you have connected the sound sources that you want to be heard through both S1 Pro+ systems
- S1 Pro+ 2
- This is the remote S1 Pro+ to which you send the sound from S1 Pro 1
Set Up
- Turn down the volume on both S1 Pro+ systems
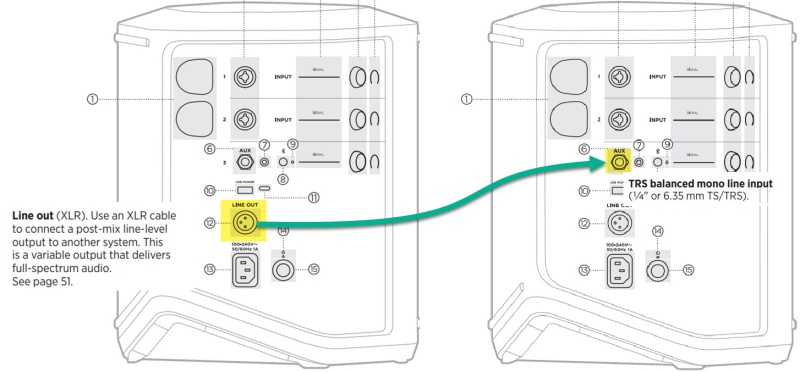
- Connect the S1 Pro+ 1 Line Out (XLR connection) to S1 Pro+ 2 Channel 3 Aux Input

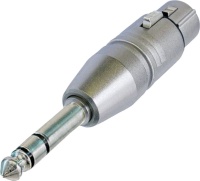
 or use an XLR cable with a converter

Levels
- On S1 Pro+ 1, bring up the channel volumes to the desired levels
- On S1 Pro+ 2, bring up channel 3 volume to suit your application. Note: This will not necessarily match the same position on the dials as S1 Pro+ 1
- Set Bass and Treble at 12:00 o'clock (flat)
- If connecting to channels 1 or 2, set Reverb off (see alternate connection below)
Alternate Connection
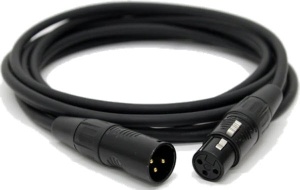
You can use an XLR cable (mic cable) from S1 Pro+ 1 to S1 Pro+ 2 channels 1 or 2 (XLR inputs), but the signal may clip, overload, or be too high to control the volume. To attenuate (reduce) the signal, use a -20 dB or -30 dB Pad
XLR Cable
Click image for more information about Pads
