Template:T1® Microphone Stand Bracket Tips
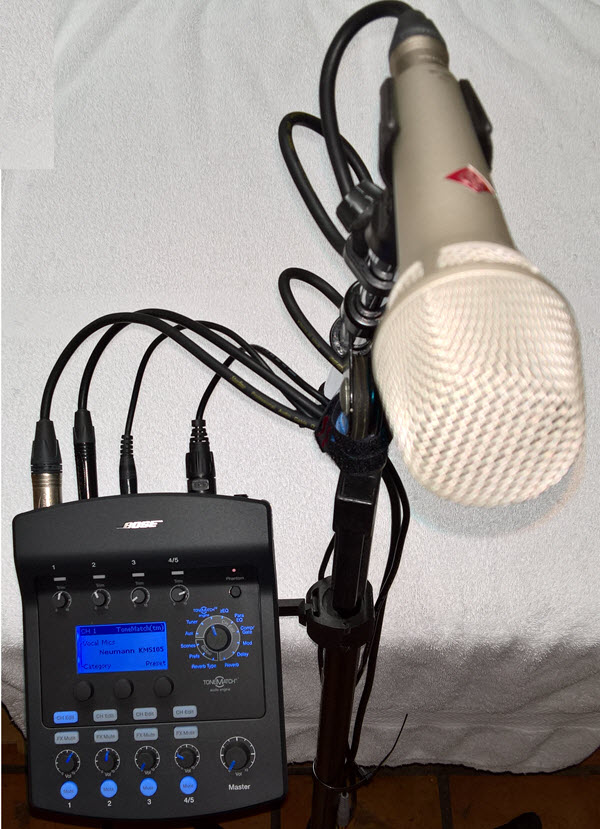
Here's how I have one of my microphone stands setup. The T1® Microphone Stand Bracket is attached and I never remove it.
All the cables are also strapped to the microphone stand. I leave the cables attached all the time. This saves a great deal of time during setup and teardown.
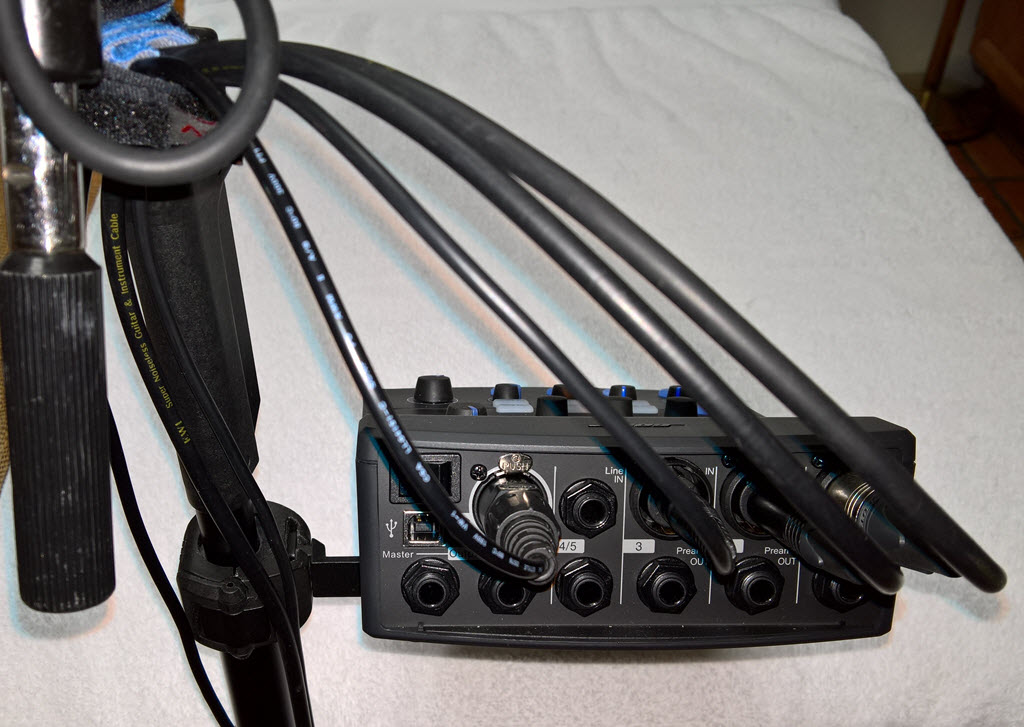
I used a white background so that you could see the wires. Normally they don't stand out like this visually. Notice that even if the T1® were to get knocked off the bracket the cables are acting as safety tethers.
- View from the Back
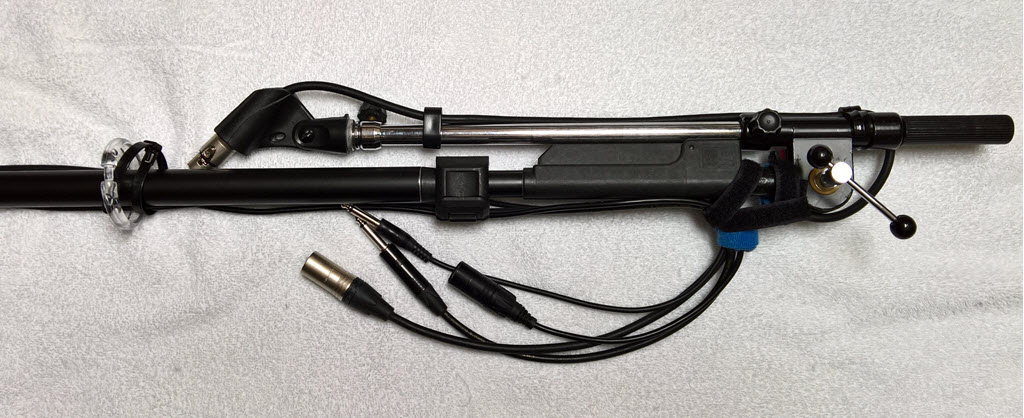
- Ready to Pack Up
You can see that the cables are strapped to the microphone stand.
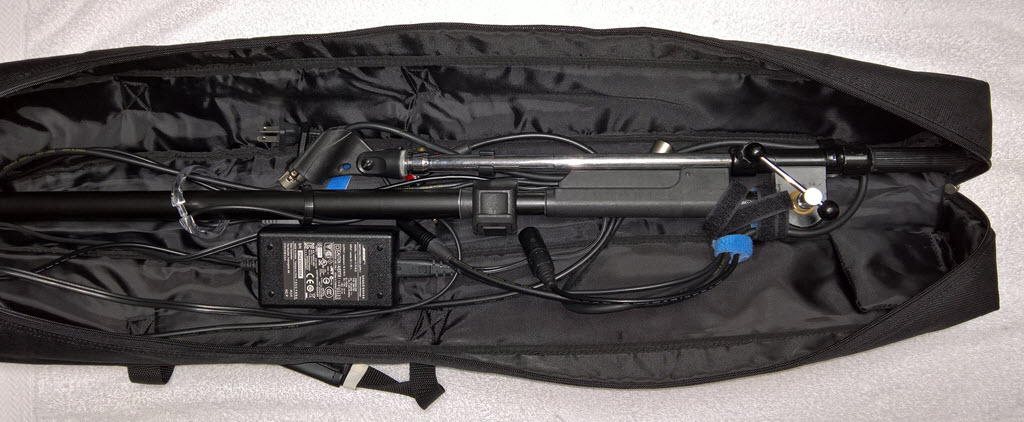
- Packed, ready to zip up
The black bag is one of the original Cylindrical Radiator® bags that came with my L1®. Years ago I got some heavy duty bags for the Cylindrical Radiator® and it turns out that the stock bags work great for holding microphone and light stands.
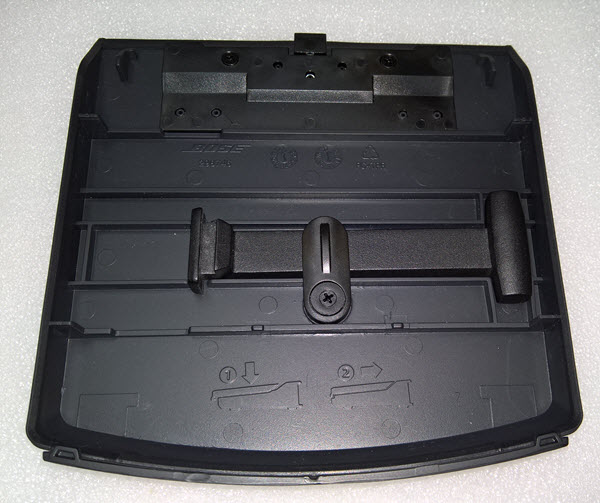
- Remember to pack the Bracket (arm) in the T1® Lid.

