Difference between revisions of "L1® Model I"
m (→Boot: reworded the section about the flange) |
m (formatting around the images) |
||
| Line 31: | Line 31: | ||
== Boot == | == Boot == | ||
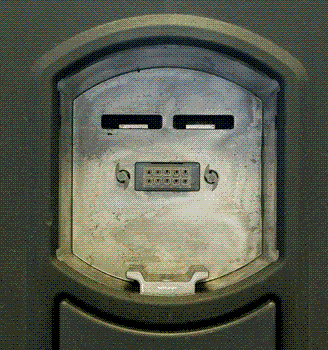
Note the 'flange' at the back edge of the boot (appears at the bottom of the silver colored recess). This prevents you from inserting the {{Classic}} Cylindrical Radiator into the {{Model I}} Power Stand. | Note the 'flange' at the back edge of the boot (appears at the bottom of the silver colored recess). This prevents you from inserting the {{Classic}} Cylindrical Radiator into the {{Model I}} Power Stand. | ||
| + | |||
[[Image:ModelI-boot.png]] | [[Image:ModelI-boot.png]] | ||
== Cylindrical Radiator Sections == | == Cylindrical Radiator Sections == | ||
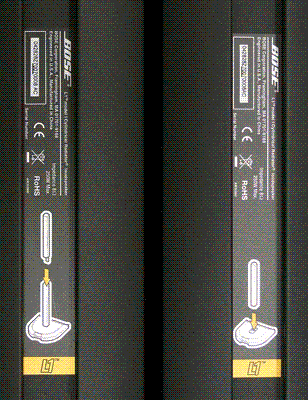
Note the orange L1™ Labels. | Note the orange L1™ Labels. | ||
| + | |||
[[Image:ModelI-top-and-bottom.png]] | [[Image:ModelI-top-and-bottom.png]] | ||
Revision as of 04:14, 18 August 2007
|
Announced March 29, 2007
|
Documentation
Input Section
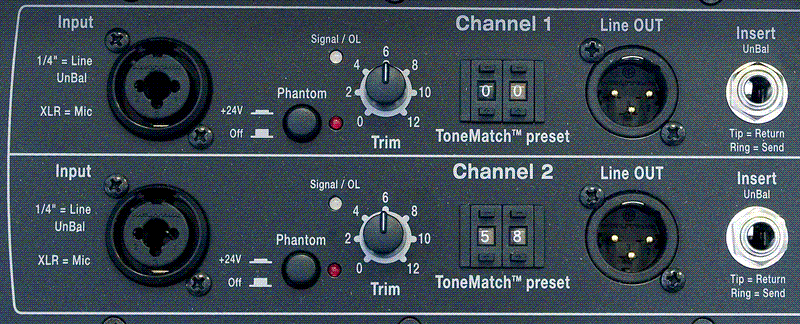
Entire Input / Output Panel
Channels 1 & 2
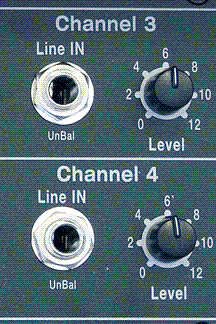
Channels 3 & 4
Output Section
Boot
Note the 'flange' at the back edge of the boot (appears at the bottom of the silver colored recess). This prevents you from inserting the L1 Classic Cylindrical Radiator into the L1 Model I Power Stand.
Cylindrical Radiator Sections
Note the orange L1™ Labels.
L1™ Model I L1 Cylindrical Radiator® loudspeaker top and bottom sections showing orange L1™ labels.
What do the LEDs mean?
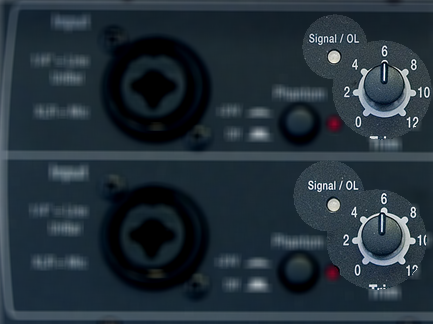
Signal/OL LEDs: Channels 1 and 2
There are two LEDs on the PS1 Power Stand (Classic) / Model I near the Trim knob labelled Signal/OL -- one for Channel 1 and another for Channel 2.
These LEDs indicate when the signal level channel's preamplifier reaches certain important thresholds. The trim controls located near the LEDs adjust the amount of gain in the preamplifier.
- The LEDs turn from off → green when the signal level exceeds a small amount.
- The LEDs turn from green → red when the signal reaches a level that's about 10 dB below a level that would clip the preamp and cause objectionable distortion.
When the LED is off (but you are playing an instrument you think is connected to the PS1 or singing/talking into a microphone you think is connected): Increase the level of the trim control. If the LED still does not turn green or red, check instrument/microphone and cables to the PS1.
When you see green only: This indicates that there's some signal in the channel but not enough. While singing or playing the loudest you ever plan to in the performance, increase the trim level until the LED is only flickering red. This is the optimal gain.
When you see red most of the time: Decrease the trim level until you see only flickering red. This is the optimal gain.
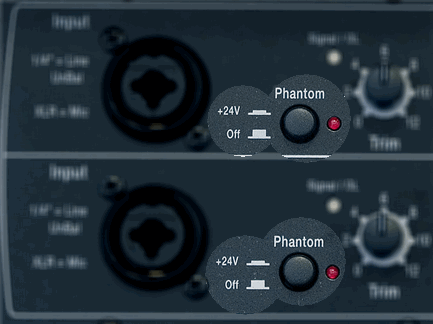
Phantom Power LEDs: Channels 1 and 2
The LEDs near the Phantom Power button are either off or red when phantom power is turned on. — more information about Phantom Power
Power / System Status LED
This LED normally is a steady green when the power is on.
If it is not lit or if it is yellow/amber, contact Support.
Note: This LED may briefly flicker yellow /amber when the power is first turned on; this is normal. Within a couple of seconds, it should settle to a steady green.
- ↑ MikeZ-at-Bose talks about Model I in the Bose Community Message Boards
[[Category:Model I]


